
The latest furoshiki technique I’ve been practising is called Suika Tsutsumi (Watermelon Wrapping).
It’s a bit fiddlier than the simple bag (tutorial here) or the library bag (here), but still only needs two square knots. Tie these carefully and correctly to ensure they don’t pull undone…

(Photo Credit: Pixieladies’ Furoshiki Fabric Wraps)
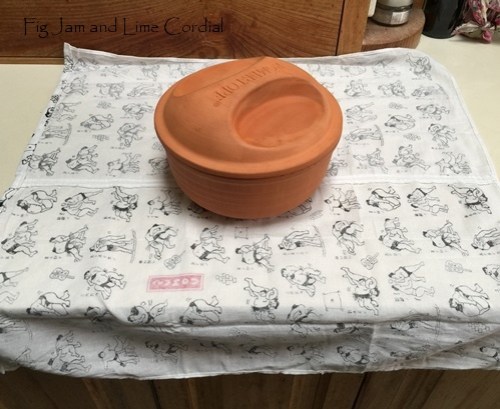
1. Lay the furoshiki face down and place the melon (or other round object) in the centre…
2. Bring up two corners and tie them in a square knot, leaving a small gap…


3. Turn the furoshiki and melon/pot around and repeat on the other side…

Leave a slightly bigger gap this time…

4. Holding a knot in each hand…

…pass the second knot through the gap beneath the first one…

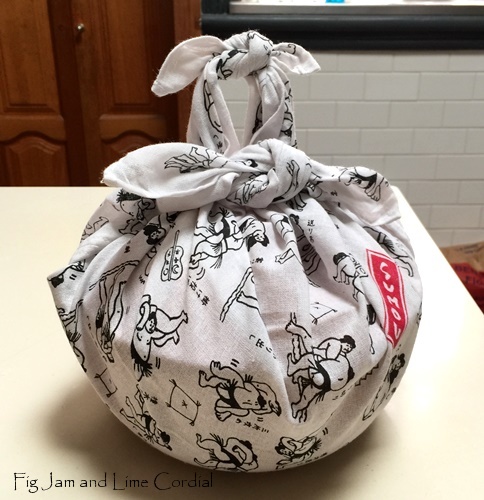
5. Adjust the knots to neaten and to ensure that the item is well balanced. Make sure they’re all securely tied. You should be able to carry the item with one hand holding onto the top loop…
6. Variation: if you’re using a larger furoshiki, pass one knot through the other, then untie and twist the ends before re-tying…

I rarely have a melon (or a bowling ball) to wrap, but this technique works well for everything from a pot of rice to a bowl of salad. If you enjoy cooking or baking, you’ll probably find it very useful. Here’s how I wrapped two loaves of sourdough, flat sides together, for delivery to a friend…
The furoshiki fever is spreading fast – I’m making them as birthday gifts, mailing them to friends interstate, and haunting Daiso stores to find unusual tenugui (Japanese hand towels) to sew together (panda and sumo furoshiki in the photos above).
Last Sunday, I tied a backpack from two cloths and used it to carry meat home from the butcher. Later that evening, I made a smaller version for my adorable little neighbour…

If you’d like to have a go, you might enjoy our earlier posts. Have fun! ♥

Your furoshiki technic is amazing. The backpack looks very comfortable and practical. How did you do it?
And I can’t keep my shoes tied…. Your cleverness keeps increasing.
Dearest Celia,
You have totally inspired me to try this out! You had me at ” watermelon” 😜
On a side note, I have earlier today made my first ever Focaccia bread! Following your easy tutorial and constantly checking and comparing its progress against your photos.. I added sliced potatoes to one half and then potatoes and sliced red onions on the other side. The crust was amazin!! I may had cut most of it off to eat! The red onion and potatoes was delish! I took many a photos to send to you but I dont think theres an option to add them?
The poking holes bit didnt look as dimply as yours… And the middle bit looked a little less golden but I was worried that it would burn or over cook and dry out.. Then worried the middle bits eerent cooked enough compared to its lovely crusty crust neighbors, so ended up chucking it under the grill to give it a little more colour.
Will deffo be working on this recipe with other bits and pieces – am thinking courgettes and some sort of italian cheese- and on my hole poking.
Thank you so much for the easy tutorial. I had a very proud Mary Berry eat your heart out moment when it came out of the oven! And that red onion made it smelled amazing!
Do you follow Shutterbean, Smitten Kitchen and Manger blog? The first two are my go to for baking and for dinner recipes. Try Shutterbean’s lemon chicken recipe it’s easily my fav go to dish. The Manger blog is my dream country living life- but I can vouch for the Broccoli pasta its so easy and tasty!
Lots of love to you and your lovely family from a friend in the UK.
Lottie. Xx
Who would have thought it was so easy? Your furoshiki always look so complicated and look like several pieces of fabric are used.
I love that you teach us life skills we didn’t know we needed! I think I’m going to wrap all my gifts like this 😀
Perfect – and I love the panda print!
They are such lovely wraps. Anything received in one of those wraps would seem so very extra special – and environmentally friendly.