Feeds:
Posts
Comments

I realised something yesterday.

I was watching Jamie Oliver’s brilliant new show, Keep Cooking and Carry On. Have you seen it? He and his family are isolating at home, so he’s been filming a series on how to make hearty meals using the ingredients folks have in their pantries and freezers. He mentioned recently that it’s all being filmed by his wife Jools on a mobile phone!

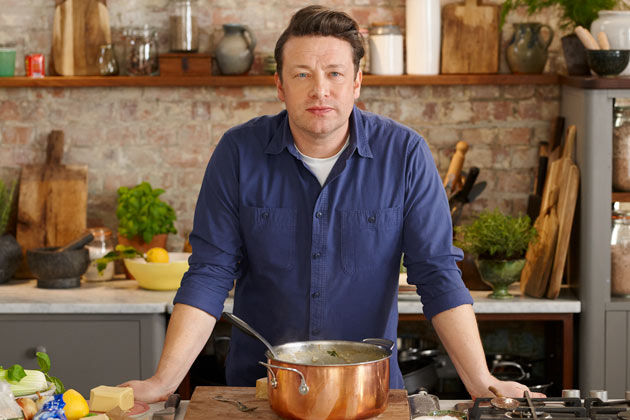
As I watched the first episode, I realised that what he was doing went beyond simply teaching folks how to make pasta from flour and water, or a fish pie from frozen ingredients. The subtle, unspoken message he was sending out was… “you don’t have to be afraid“.

I think this has the potential to be hugely impactful. At the moment, we’re all a little afraid. We’re a species that has evolved to live in groups, so being forced to self-isolate can be daunting, for some of us more than others. And whereas we could normally turn to our friends and loved ones in times of need, the current situation finds us all stressed and anxious, which makes it difficult for us to support one another as we’ve been able to in the past.

So here’s what I think we need to do. If we can find some way to help another person feel less afraid, even if we ourselves are afraid, then we should try and do it. It could be as small a gesture as a phone call to say “how are you going?” or “let me know if you need anything”. Just knowing someone else has thought of us is reassuring in and of itself, and will help reduce the nervousness that we’re all feeling right now.

More than ever, our communities are important. Take the initiative and attempt to create a connection – by text or email or a note in the letterbox if you’re shy. I know this is massively easier for us raging extroverts, and I’m not suggesting we all reach out to strangers at this time. But a phone call to reassure an elderly relative, or a text message to a friend you haven’t spoken to in a while, or even ordering takeaway from your local eatery – all these actions send a message that says, “you’re not alone, we haven’t forgotten about you, you don’t have to be afraid”.

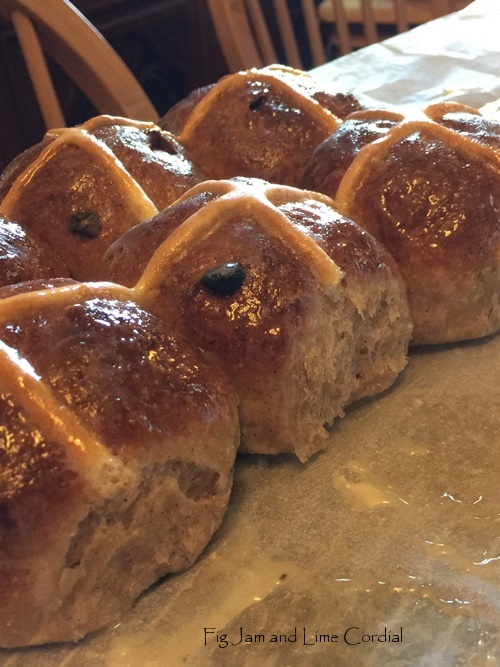
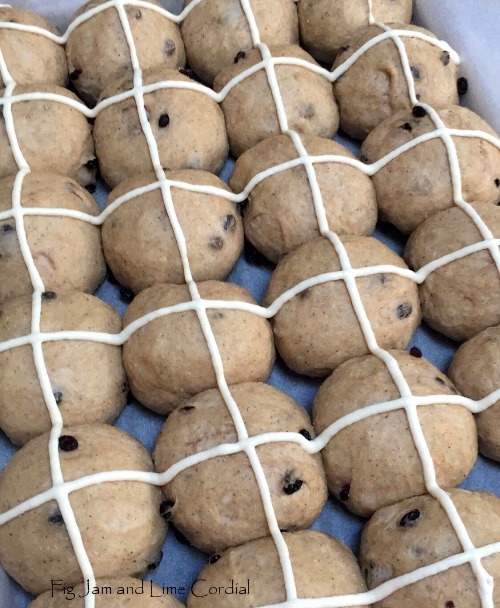
For us, this has meant baking loaves of bread and delivering them to neighbours’ doorsteps, or leaving essential supplies (and treats!) on the back deck for family and friends to pick up. In return, my wonderful community has ensured that we haven’t had to visit a supermarket once since lockdown, leaving cereal, sugar, eggs, butter and gifts at our back door. And in reality, none of this is critical. We could easily go shopping, and my neighbours could just as easily buy a loaf of bread. But the true value lies in the reassurance these small acts bring – the reminder that, as Jamie says, we’re all in this together.

At times of stress and fear, we instinctively turn our focus inward, especially when we have families. As my friend Kim very astutely put it, “at the moment we mothers just want to gather everyone safely and circle the wagons”. But I think it’s really important that we also force ourselves to look outwards, to ascertain how we can support each other within the confines of our current social restrictions. It’s a positive act that will help us to feel better about ourselves, and might also help someone else. And hopefully, we can all be less afraid, knowing that none of us have to face this current crisis alone. ♥

This is our friend Will. Please don’t tell him I’m writing about him.

You would love him. I say that with huge confidence, even though I don’t know you, because everyone loves Will. He’s one of those rare people in life with great compassion, dry wit and absolutely no pointy bits.

When Big Boy and Monkey Girl sent out their wedding invites, the dress code was “semi formal”. I rang Will and said, “Hon, I’m sorry, but as MC, you’re one of the few people who will actually have to wear a tie on the night”. He replied, “Celia, I’m English. Of course I’m going to wear a tie. The question is whether I wear a waistcoat.”

Given it was 39ºC the day of the wedding, I’m glad he decided against the three-piece suit.

Here he is on the day, deep in a conversation with a kookaburra…

And for those of you who’ve been reading for a while and like to join the dots, Will is Baby Grace’s dad. Remember her? If not, let me refresh your memory. In fact, let me find some Grace photos for you, because just looking at those are guaranteed to bring joy and we could all use some of that right now!

bpl

At this time when we’re all missing our friends desperately, it’s nice to take a moment to reflect on how truly wonderful they are. ♥

Happy Easter, lovelies!

I was chatting to my darling friend Emilie the Clever Carrot last week, and she mentioned that she was posting a new sourdough hot cross bun recipe. It looks amazingthe link is here if you want to check it out. The secret, she whispered to me, is more butter

With that in mind, I’ve rejigged our yeasted hot cross bun recipe this year. It was only a small change, but it’s made such a difference – the buns are lighter and more brioche-like, and the extra butter seems to mask the taste of the instant yeast (which I’m quite sensitive too, hence the focus on sourdough). I could have made sourdough buns (here’s our recipe from 2018) and most years I do, but I didn’t have the energy this Easter. We just do what we can, when we can, right?

Here are the revised quantities I used (I’ve highlighted the changes). It makes a double batch of 24 hot cross buns, which fit perfectly in a half-sheet pan from Costco. I figured I’d better write it up before I make another batch, because trying to double all the quantities and make adjustments at 5am in the morning was doing my head in!

Dough

  • 1kg bread flour
  • 20g instant yeast
  • 16g fine sea salt
  • 80g brown sugar
  • 180g unsalted butter
  • 3 large free range eggs
  • 4 tsp mixed spice
  • 150g currants
  • 500g full cream milk, heated gently and then cooled to blood temperature, or UHT milk, unrefrigerated

Cross

  • 3 Tbsp self raising flour
  • 2-3 Tbsp cold water

Glaze

  • 4 Tbsp milk
  • 4 Tbsp caster (superfine) sugar

Notes:

1. The original tutorial is here, and I follow the same method with one exception – instead of rubbing in the butter, I now melt it and add it to the dry ingredients with the eggs and milk. I suspect you’d get a better result if you did rub it in, but this way is much easier (and less messy).

2. The true secret here (ok, apart from the extra butter) is patience. For a yeasted dough, this takes a very long time to rise. Let the first bulk prove and get properly puffy before you shape it, and then let the shaped buns rise and rise. They need to be fat and a bit squishy and touching each other before you pipe and bake them. My second rise (and our weather is a bit cooler at Easter) usually takes a good hour to an hour and a half…

Here’s a piping video just for fun. Actually, I just wanted to show off that I was piping with my right hand while filming with my left! I doubt I’ll be able to pull it off again, so I thought I’d better record it for posterity…

. . . . .

3. Paint the still warm buns with two coats of glaze – it will thicken up as it cools…

. . . . .

These have really been a huge hit! Small Man ate four for afternoon tea and then we divvied up the rest, wrapped them carefully, and left them outside for the neighbours to pick up. After they’d all been distributed, that son of mine said “You know Mum, I could have eaten eight…”

Needless to say, I now have another batch proving! ♥

I love mending!

Well…I love easy mending. Small Man’s Landsend pyjamas were not easy mending. I had to unpick the triple-stitched-in elastic and replace the entire casing. It took hours (quite literally). The first pair were a bit dodgy, so you’re only getting to see the other two…

But it was worth it, right? The pjs are in pretty good shape after five years of constant wear, so this quick slow fix should hopefully give them another year of wear!

. . . . .

My friend Ian’s work jeans also came in for another repair. Farmers are hard on their jeans – I suggested wearing leather chaps but Ian wouldn’t have a bar of it (which is the Aussie way of saying that he wouldn’t even consider it)…

His heavyweight Wranglers are incredibly sturdy, so they’ve always been worth mending. They’ve still got quite a lot of life left in them!

. . . . .

Finally, Eli’s old shoes were dropped off for a quick fix so that his baby brother Seb could wear them. Aren’t they the cutest things?

I stitched the hook side of the velcro down, then replaced the loop section on the front straps, just to make sure they stayed on securely…

It was a messy job, but it only needs to last a very short time…

And here’s my young neighbour, up and walking just before his first birthday!

. . . . .

If you’re a mender too, you’ll understand the joy that comes from breathing life into something that might otherwise have been thrown away. I’d love to know about your latest project!

Once we’re able to let go of the notion that repairs need to be invisible – once it can be seen as a point of pride and the continuation of a story – then mending becomes easy, functional and rewarding. And often unexpectedly beautiful! ♥

Pete declared these cookies to be “restorative to body and soul”, so I figured they were worth sharing with you.

They’re a riff on our old triathlon cookie, which was based  in turn on an old Dan Lepard recipe from the Guardian. It’s a great way to use up bits and pieces in the pantry, and because of the higher fibre and fruit content, it’s easier to just eat one rather than five (although having said that, I ate three today). They’re also very simple to make!

  • 125g unsalted butter
  • 175g brown sugar
  • 1 large egg
  • 200g wholemeal flour
  • 75g rolled oats
  • 1/2 tsp bicarb (baking) soda (sifted)
  • 1/4 tsp fine sea salt
  • 230g assorted mixed fruit – I used cranberries, currants, sultanas, chopped figs and chopped dates
  • 20g cacao nibs
  • 100g dark chocolate, chopped or in callet form (I used 70% Sao Thome origin chocolate)
  • 1 tsp vanilla (I used homemade)

Note: use whatever dried fruit and flour you have. You can also substitute chopped nuts for the nibs and some of the fruit.

1. Preheat the oven to 160C or 150C with fan. Stir together the flour, oats, bicarbonate of soda (make sure you sift it first), salt, dried fruit and chocolate.

2. Beat the butter and sugar together until creamy, then beat in the eggs and vanilla.

3. Add the dry ingredients and mix until just combined. The dough will be firm.

4. Roll the dough into 4cm balls (I use a small icecream scoop) and place them on a couple of parchment lined baking trays.  Flatten each cookie slightly and bake for  15 – 20 minutes (depending on whether you like them chewy or crispy).

5. Allow to cool on a wire rack and then store in airtight container. Enjoy! ♥