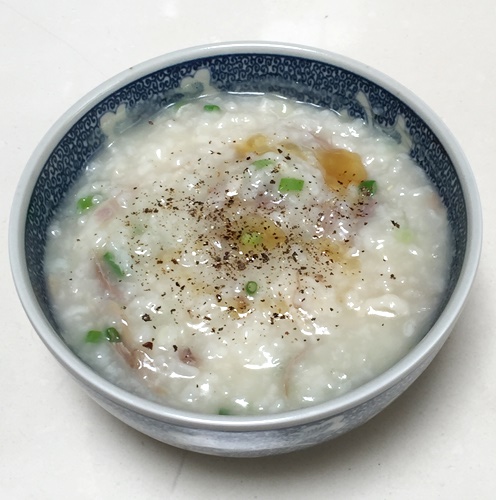
In my kitchen…
…is my first successful attempt at decorative slashing on sourdough loaves…
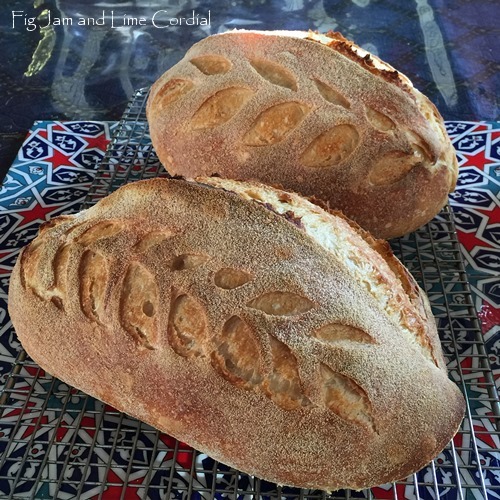
I used a new razor blade and baked the loaves in my enamel pots…
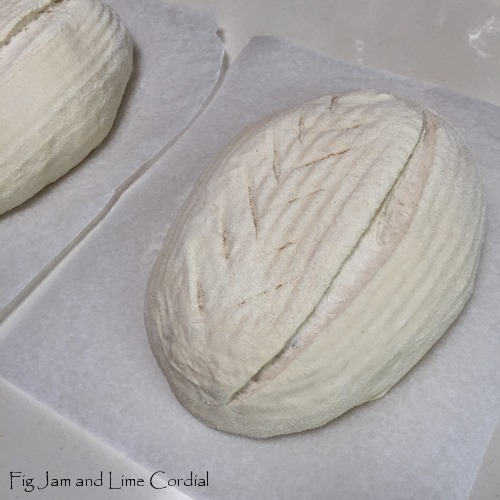
I followed a wonderful instructional video posted by Bonnie of Alchemy Bread Co – always so kind of professional bakers to share their knowledge!
. . . . .
In my kitchen…
…is a genius little sushi mould, which does away with all the sticky-handedness of forming rice balls. My sister Cynthia found it in Singapore, and the boys love it…


. . . . .
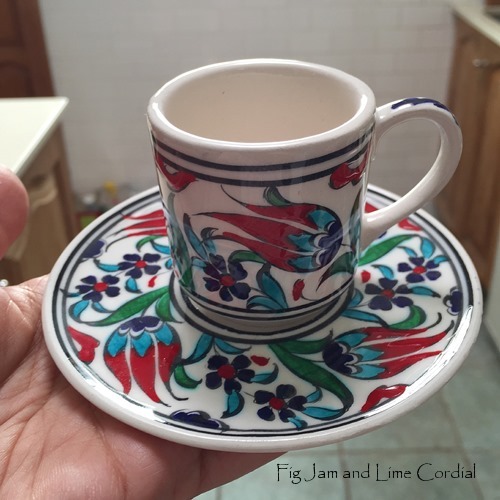
In my kitchen…
…is yet another treasure from Cynthia, a set of tiny hand painted Turkish espresso cups. I adore them (and her!)…
. . . . .
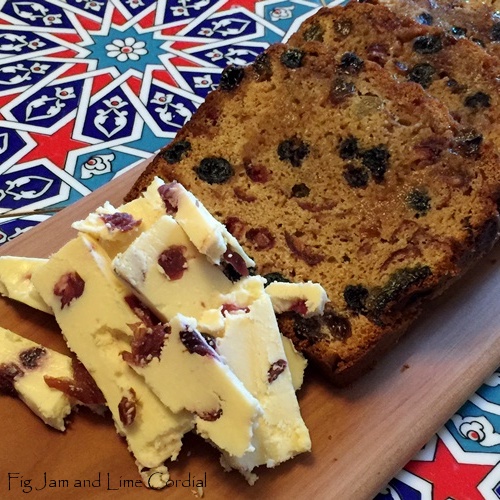
In my kitchen…
…was a Jamie Oliver Earl Grey Tea Cake. It was easy to make and even easier to eat, with cranberry studded Wensleydale cheese…
. . . . .
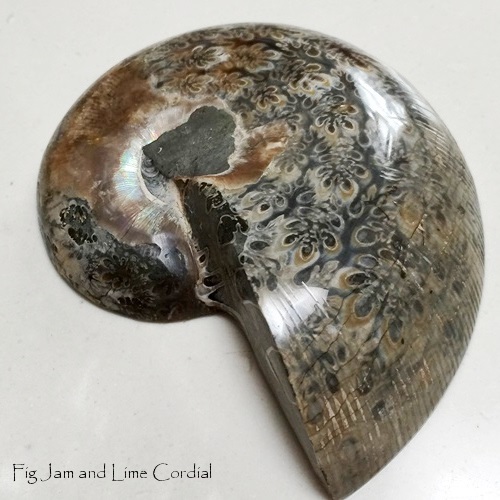
In my kitchen…
…is a lytoceras ammonite, formed more than 100 million years ago. It’s palm-sized, and covered in the most exquisite suture pattern. There’s something magical when nature produces such artistry…
. . . . .
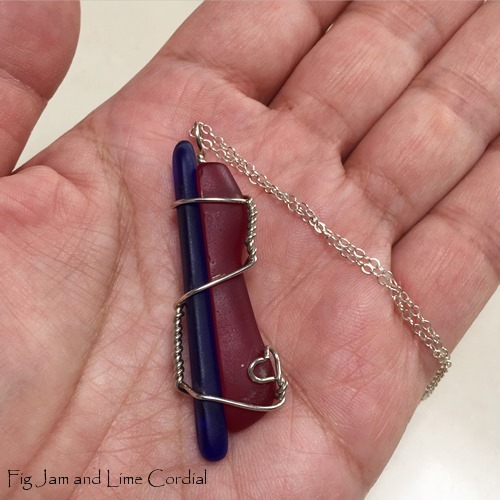
In my kitchen…
…is a gift from lovely Gretchen, made with recycled glass. I love the clever wire work…
. . . . .
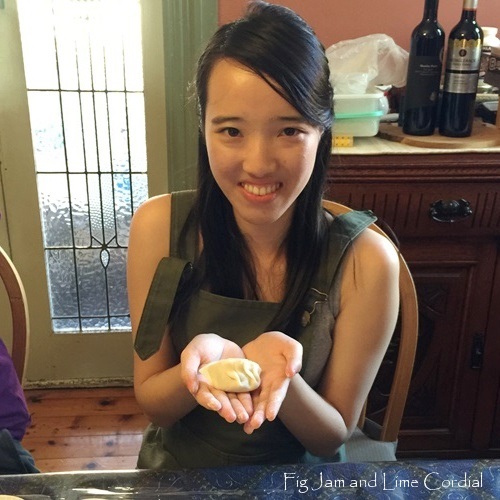
In my kitchen…
…we’ve been making dumplings! My nephew Bryan and the gorgeous Lilian came over on Saturday afternoon to learn. Mum was on hand to offer her wise advice…

The half-moon pleat is tricky, but Lilian nailed it on her first attempt…
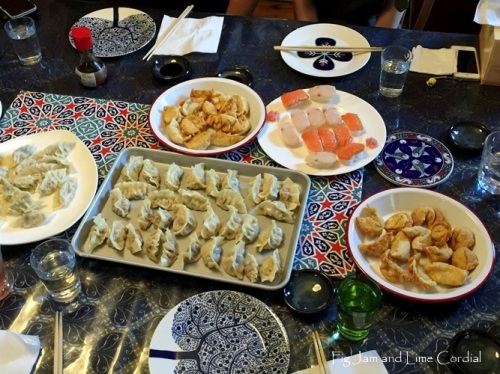
Bryan was hilariously rubbish at folding, but managed to produce edible dumplings nonetheless…

In the end, we made 160 dumplings, half pork and half chicken and prawn. One tray’s worth went into the freezer, and the rest were either boiled, steamed or deep-fried. Big Boy and Monkey Girl made sushi as well. They’re all such good kids, they even tidied up after dinner!
. . . . .
Tell me, what’s happening in your kitchen?
If you’d like to write an In My Kitchen post, please do so by the 10th March and send your link to Maureen at The Orgasmic Chef. Thanks for hosting Maureen! x