I wouldn’t normally upload two chocolate posts in the same week, but it’s getting close to Christmas, and I’m keen to encourage anyone who’s considering making their own chocolates at home to give it a go!
. . . . .
In the past, folks have told me that they’re reluctant to try tempering for fear of “ruining” expensive chocolate.
This thinking is flawed on two counts – firstly, mastering a skill is all about experimenting and making mistakes and learning from them; and secondly, it’s quite hard to “ruin” good chocolate.
If the finished product has inclusions, it might not be possible to melt it down and reuse it (although it can be used in cakes and cookies, as you’ll see in a later post), but plain chocolate is easy to recycle. Let me show you what I mean.
These days, my tempering rarely goes pear-shaped, but it did last week. I was making Pete a batch of his favourite Sao Thomé origin chocolates, and thought I’d experiment with a painted finish. Unfortunately, I was so distracted messing about with powdered food colourings that the chocolate fell out of temper (too cold). The final pieces were ok, but they were a bit dull and didn’t snap cleanly.
So I chopped the entire batch up into shards…

…scraped them all into my little pyrex bowl, and started the tempering process all over again…

The second attempt was a glossy, snappy success, so much so that you can almost see reflections in the frogs…

If you’re interested in tempering your own chocolate, don’t be put off by the thought that you might waste an expensive product if it doesn’t work. Providing you don’t scorch (overheat) the chocolate or get any water in it, then if your first attempt isn’t a complete success, simply chop it up and try again!

. . . . .
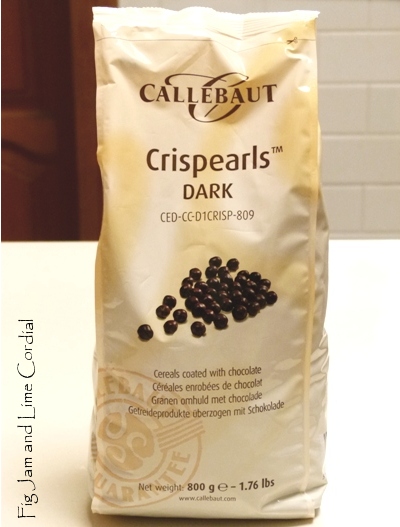
Tempering Tip: Our method of tempering requires a lump of chocolate to seed the melted callets with. This can be a little tricky to find (high end delis often sell chunks broken down from larger blocks).
Rose and Fran have both had success using a good quality (retail) bar of chocolate (such as Lindt or Green & Black’s), but the bar is usually quite thin and can melt down during the tempering process. If that happens, pour a portion of your tempered chocolate into a muffin tin or mini loaf tin, to create a small block (about 100g) for your next batch.

. . . . .
And finally, a headsup to my fellow Aussies – Aldi has these fabulous silicone moulds on sale this week for just $2.99 each. You’ll need to be quick though…

They work brilliantly, although with silicone, you have to push the finished chocolate out rather than simply banging the inverted tray on the bench. This experimental batch was made with the Callebaut 80% Kumabo that I bought at Chefs’ Warehouse last month – don’t let the cuteness fool you, they were a very grown-up treat!

. . . . .
Previous Chocolate #101 Tutorials