Feeds:
Posts
Comments

In my kitchen…

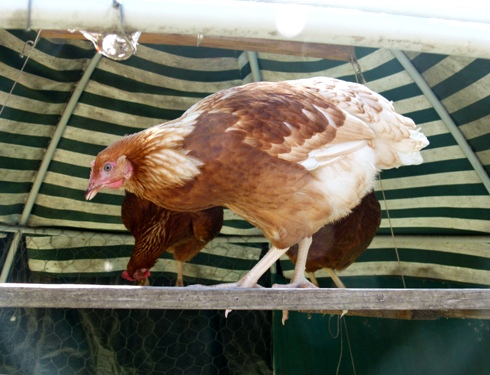
…are the first two eggs laid by Amber. The new hens have been named (all will be revealed in a future post), and are settling well into the flock, but only Amber is laying at the moment. I can’t tell you how nice it is to have homegrown eggs again…

In my kitchen…

…are mulberries from our neighbours Liz and Brett’s enormous backyard tree…

We turned most of the bucket into four and a half jars of mulberry jam. It’s not a tidy process, as all the berries need to be stripped from the stem…

We like our berry jams quite firm (with the exception of strawberry) and very concentrated in flavour, but not overly sweet…

In my kitchen…

…there is always bread, but not always such a pleasing bread photo – this one was taken with the board on the kitchen floor in a beam of morning sunlight…

In my kitchen…

…is the first of our sweetheart cabbages for the season. As we also had a freshly laid egg, naturally we had to make coleslaw…

In my kitchen…

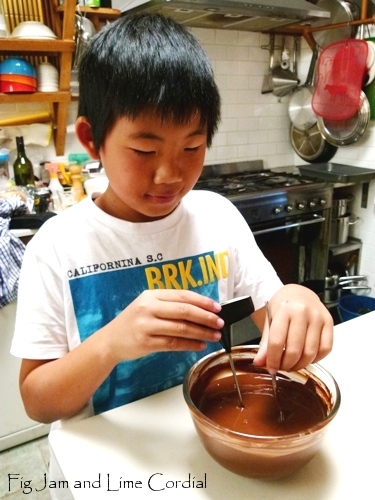
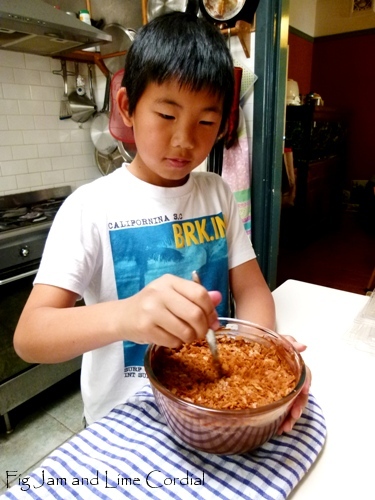
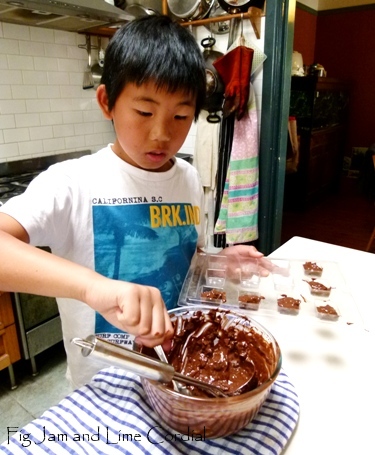
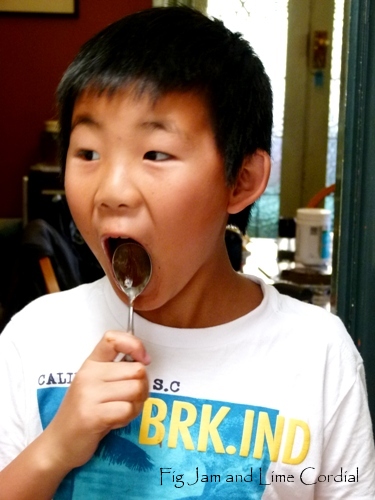
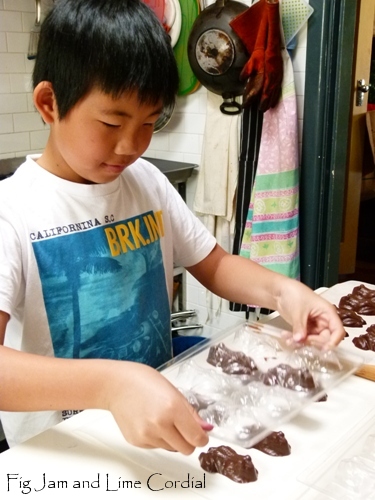
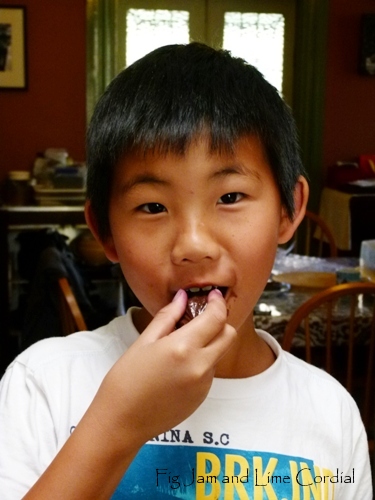
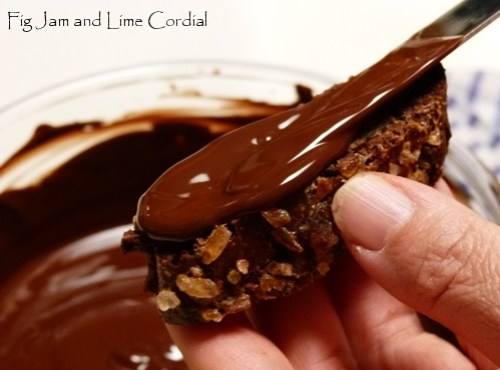
…is the newest Callebaut chocolate on sale at Chefs’ Warehouse

Unusually, it’s a blend of different origin chocolate from Tanzania, Ghana and Sao Thomé, and it’s a seriously dark 80%. Despite that, it tempers into a smooth, silky bar without any of the chalkiness that you sometimes find in higher cacao chocolate…

In my kitchen…

…are plump, fat vanilla beans from Tahiti – a gift from our friends Marcela and Stephen who visited the plantation last month…

In my kitchen…

…is caramel sauce. I normally wouldn’t buy sauce in a bottle, but this one only has two ingredients, caramelised sugar and water. And yes, I could make it, but I’m notorious for burning caramel

In my kitchen…

…is annatto paste. When I posted about our Mexican Chilli Paste, lovely Tania from My Kitchen Stories told me that I had to pick up some annatto paste next time I was at Fiji Market. I actually have no idea what I’m supposed to do with it – any suggestions?

In my kitchen…

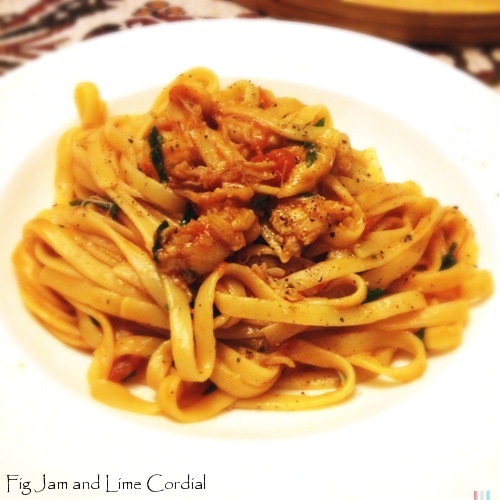
…is Australian spanner crab meat bought frozen from Costco. Picked crab meat is very expensive here – this small 250g packet cost (from memory) about $16…

It made a very special Friday night pasta though, and the 250g was more than enough to feed the four of us…

. . . . .

Tell me, what’s happening in your kitchen this month?

If you’d like to do an In My Kitchen post on your own blog, please feel free  to do so. We’d love to see what’s happening in your kitchen this month!  Please link back to this blog, and let us know when your post is up, and we’ll add it to our monthly listing.

. . . . .

Here are this month’s posts…

Pamela @ Spoon Feast

Serena @ Anything But Toast

Pat @ A Yorkshire Cook

Bernice @ Dish ‘N’ The Kitchen

Fiona @ TIFFIN – Bite Sized Food Adventures

Brydie @ CityHippyFarmGirl

JJ @ 84th & 3rd

Shaheen @ Allotment2Kitchen (first IMK post!)

Marian @ Apricot Tart (first IMK post!)

Amanda @ Lambs’ Ears and Honey

Clare @ The Life of Clare

Sally @ Bewitching Kitchen

Laila @ Table of Colors (first IMK post from Finland!)

Maureen @ Orgasmic Chef

Giulia @ Love at Every Bite (first IMK post!)

Emma @ Gustoso

Lizzy @ Bizzy Lizzy’s Good Things

Johanna @ Green Gourmet Giraffe

Kari @ Bite-Sized Thoughts

Pam @ Grow, Bake, Run

Jas @ Absolutely Jas

Marianne @ Aunt Shoe

Misky @ The Chalk Hills Kitchen

Jason @ Don’t Boil the Sauce!

Joanne @ What’s on the List?

Claire @ Claire K Creations

Mel @ The Cook’s Notebook

Heidi @ Steps on the Journey

Tania @ My Kitchen Stories

Andrea @ Shabby Chick

Ladyredspecs @ Please Pass the Recipe (first IMK post!!)

Anne @ Life in Mud Spattered Boots

Charlie Louie @ Hotly Spiced

Tandy @ Lavender and Lime

Mandy @ The Complete Cookbook

Linda @ The Witches Kitchen (first IMK post!!)

Kim @ A Little Lunch

Diane @ Diane’s Kitchen Table (first IMK post!!)

Lisa @ Gourmet Wog

Glenda @ Passion Fruit Garden

My old friend Carol recently attended a chocolate making course.

On the day, she spread liquid chocolate onto a marble bench and scraped it about with a spatula, studied temperature charts on a white board, aimed infrared thermometers at gigantic bowls of melted chocolate, and ladled into expensive polycarbonate moulds.

Then…she rang me.

“Do you work your chocolate on a bench?”

“Um…no..”

“What about the polycarbonate moulds, do you use those?”

“Um..no..”

“Why does your tempering work if you don’t do the whole
heating-cooling-reheating bit?”

“I honestly don’t know why, but it really does…”

“Will you please show me how you do it?”

“Of course!”

Carol only lives a few streets away, and just before she was due to come over, she rang and asked if her youngest son could come along as well. Nine year old Justin turned out to be a tempering star! Here are some photos of our afternoon together…

After melting the chocolate in the microwave,  a lump of chocolate was stirred in to “seed” the crystals. Once the chocolate had cooled to the correct temperature (in this case 88F, as it was a milk blend), the lump was removed…

The bowl was placed onto a towel covered heat mat, and pailleté feuilletine flakes were stirred in…

Filling the moulds took a little hand-eye co-ordination…

Thump! Thump! Knocking out the air bubbles…

Naturally, the bowl needed to be scraped clean once the moulds were filled…

The well tempered cane toads practically leapt onto the bench…

And it’s always important to taste test your finished product…

Justin was very proud and more than a little possessive of his handiwork. We may have a future Willy Wonka in the making!

If you’d like to give tempering a go, here’s a link to our Chocolate #101: Tempering at Home tutorial. Hopefully you’ll have as much fun with it as Justin, Carol and I did!

. . . . .

I’m taking a short blog break, folks.

It’s school holidays and we’re busy with family and friends. I’ll be around, checking comments and updating the IMK listing, but there won’t be any new posts in the week or so.

Take care and have a great week! ♥

We have new chickens!

As we’d planned, once Bertie died and we were left with just three, we added five hens to the flock. I’ll be blogging more on them later – at the moment, the new girls are still hiding in the roost and refusing to come down, so there hasn’t been much of a chance to photograph them!

Today though, I’d like to give a completely unsolicited plug to City Chicks.

We’re passionate about our chooks, so it was a great joy to be able to deal with a company that cares deeply for their birds. John Huntington and his wife Wendy own and run the Sydney franchise of City Chicks and, after a recommendation from our friends Christina and Steve (the Vet), we called them on Tuesday to order our new hens.

I was immediately encouraged when Pete had a ten minute conversation with Wendy on the phone – she wanted to know whether we’d had chickens before, what our set-up was, and she checked with John to see if he thought we were doing the right thing introducing five new hens into an existing flock of three. This wasn’t a company that was going to sell us chickens as a commodity – we could tell straight away that the welfare of their birds was important to them.

The following day, John arrived with our five new girls. They were in immaculate condition – not beak trimmed, although the sharpness of their beaks had been worn down from a pecking block they’d been nibbling at. John is the nicest man and a wonderful source of knowledge on all things chicken-related. He stayed and chatted with us for nearly an hour – I think he might secretly have been waiting for us to put the chooks into the dome so that he knew they were settled in properly before he left.

City Chicks offers a complete service – food, feeders, coops and anything else you need for backyard chooks. They offer a wide range of breeds (we stuck with hybrids), as well as a rental service so that folks can try out chickens in their backyard before making the commitment of purchasing their own.

They also offer a backyard chicken retirement service. As many of you will remember, I was extremely sceptical about this when I first heard about it, but you know what? Now that I’ve met John, and grilled him extensively about how it works, I completely believe him. When this new batch of girls stop laying, I’m confident that we’ll be able to retire them to a comfortable rural life in Queensland.

This is how it works – City Chicks charges $20 to take away your old chooks (if you get new hens at the same time, they take $10 off as a “trade-in”). That covers feed and the cost of freighting the birds to Queensland where they’re released onto a five acre enclosure. They’re provided with shelter and allowed to free range.  There is a cap on the maximum number of birds they’ll take for retirement (which tends to balance out as new retirees take the place of ones which die from natural causes) and, because of the size of the property, there’s enough room for the chickens not to have to fight all the time.

The Lohmann Brown chooks that we bought from City Chicks were $25 each, plus an extra $45 for delivery.  That isn’t the cheapest price for layer hens, but we think it was well worth the extra cost to deal with a company who provides fabulous service and takes such loving care of their chickens. If you’re in Sydney and interested in having backyard chooks, John and Wendy’s contact details are on the business card below. City Chicks also has interstate branches which can be reached through their website.

I find biscotti very addictive, especially when they’re coated in dark chocolate!

They’re a seriously hard cookie (watch your teeth), but I find them perfect for dunking in my morning cup of tea. This version – a riff on an old and reliable David Lebovitz recipe – was particularly pleasing. The ginger stayed soft despite the second bake and the flavour worked well with the dark chocolate and roasted hazelnuts.

  • 300g (2 cups) plain (AP) flour
  • 75g (¾ cup) Dutch-processed cocoa
  • 1 teaspoon baking powder
  • ¼ teaspoon fine sea salt
  • 1 teaspoon vanilla extract (I used homemade)
  • 220g (1 cup) white sugar
  • 3 large (59g) free range eggs
  • 100g (3½ oz) roasted skinned hazelnuts, chopped
  • 100g (3½ oz) glace ginger (we used Buderim Naked Ginger), chopped
  • 100g (3½ oz) dark chocolate chips (I used Callebaut 811 54% dark)
  • 1 egg, beaten,  for eggwash
  • crystallised sugar (demerara works well, but I used Moo’s rock sugar)

For a more detailed tutorial on making biscotti, please see our earlier post here.

1. Line a large baking tray with parchment paper, and preheat oven to 175C/350F or 160C/320F with fan.

2. In a small bowl, sift together the flour, baking powder, cocoa (which must be sifted, even if nothing else is) and salt.

3. In a large mixing bowl, use a whisk to beat the 3 eggs and sugar together until combined.  Whisk in the vanilla extract.

4. Stir in the flour mixture, then add the chocolate chips, ginger and almonds. Mix everything together by hand (it will be quite a stiff dough) until all the dry ingredients have been incorporated.

5. Divide the mix into two and roll into long skinny logs. Place them on the parchment-lined baking tray.

6. Gently flatten the top of each log, then eggwash the tops and sides of each and sprinkle generously with the crystallised sugar. Bake the logs for 25 minutes until firm to touch.  Allow to cool on the tray for at least 15 minutes.

7. With a sharp serrated knife, slice each log into 1cm / ½” slices.

8. Lay the slices onto the parchment lined tray – they won’t spread any more – and bake for 20 – 30 minutes at 175C / 350F or 160C/320F with fan.  Rotate the trays halfway through the baking time to ensure the biscotti bake evenly.

Coating the Biscotti with Chocolate

1. Temper a batch of dark chocolate following the instructions here. Place the tempered chocolate on a heat mat to keep it at the correct temperature while you work with it.

2. With a butter knife,  smooth a coating of chocolate over one side of the biscotti.  It’s easier to do this than to dip the cookie, as they’re quite crumbly and can end up breaking off into the chocolate…

3. Place each coated biscotti chocolate-side down onto a sheet of parchment and press down gently. Allow to set. I picked up this tip from Jacques Pepin, and it results in a smooth flat chocolate finish. (Photo below is of almond and choc chip biscotti – I made two different batches at the same time and coated them all.)

4. Store the finished biscotti in an airtight container – they can also be frozen for ages.  Tempering the chocolate means that the finished chocolate will resist blooming, making this a perfect do-ahead gift.

There will undoubtedly be leftover tempered chocolate to play with! I dipped some shortbread rounds in ours…

…and threw chopped glace ginger, slivered almonds and cranberries into the remnants of the bowl, before spreading it all out on a sheet of parchment to make this easy and delicious chocolate bark. It’s the perfect after-dinner nibble!

. . . . .

Chocolate #101: Tempering at Home

Chocolate #101: Enrobing

Chocolate Making Posts