Feeds:
Posts
Comments

Archive for the ‘Recipes’ Category

Burger Buns

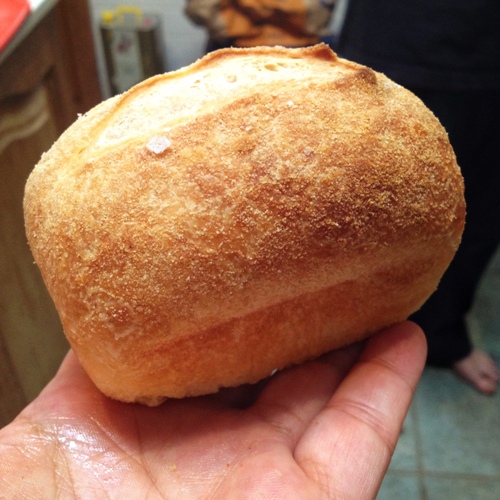
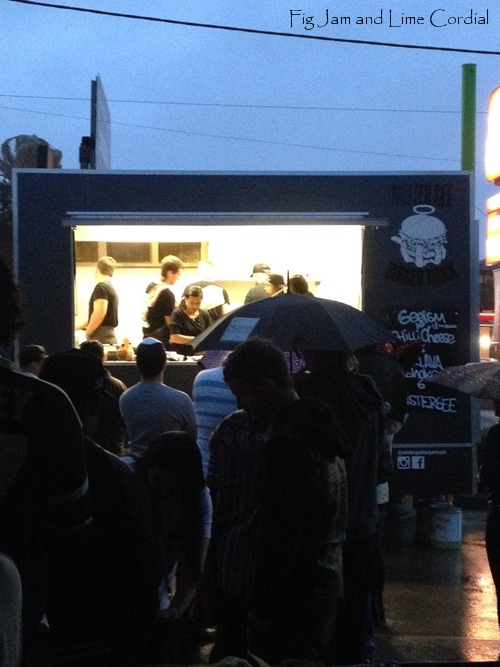
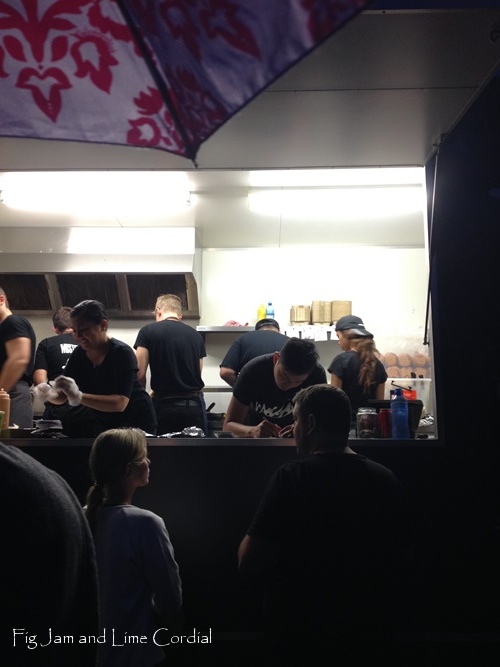
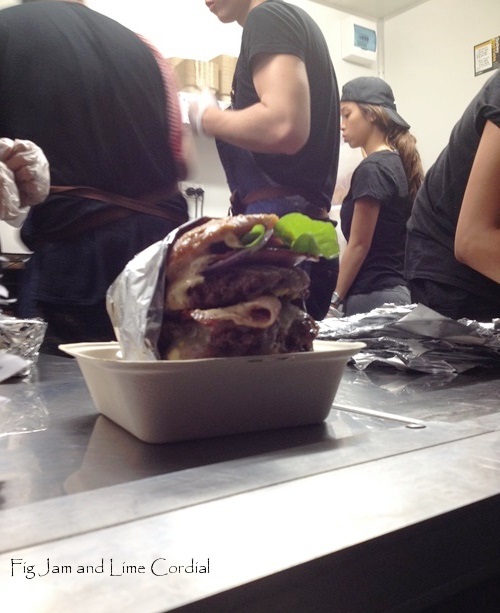
Inspired by our recent visit to Mister Gee, I thought I’d attempt my own burger buns.

They’re made with our sweet dough recipe, and my sons have both declared them to be perfect – soft enough to soak up all the lovely meat juices, but not so soft as to fall apart or squish to nothing on the first bite…

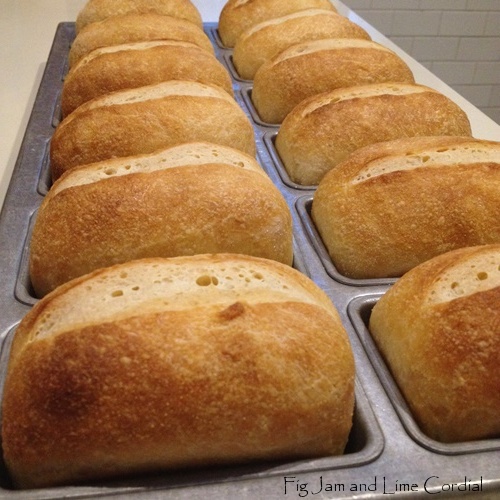
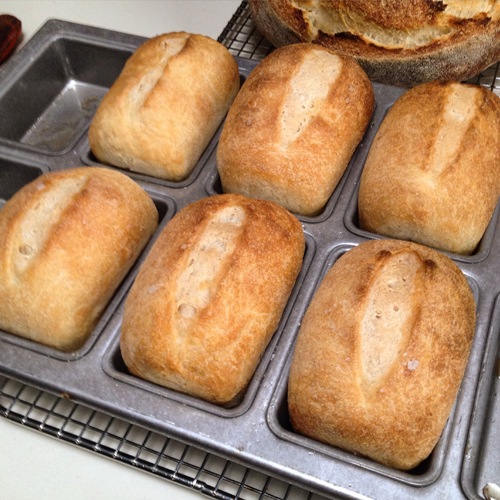
I made up a large batch of our sweet dough, turned some of it into loaves for my parents, and the rest into these buns. Then Pete and I left for the day to take my folks to medical appointments. When we finally arrived home at 7pm, Big Boy and Small Man had made the patties (minced beef and pork, no other ingredients) and prepared all the trimmings (sliced cheddar, fried onion, salad, homemade mayo, chipotle barbecue sauce).

We were all starving and it was dark, so I didn’t manage a photo of the finished burgers, but they were delicious. The boys  ate two each!

Because I was rushed for time, I made this dough in my new Kenwood. Instructions for making it by hand are here:

  • 500g bread/bakers flour
  • 10g dried/instant yeast
  • 7g fine sea salt
  • 40g caster (superfine) sugar
  • 60g unsalted butter, melted and cooled
  • 2 large (59g) eggs
  • 250g full cream milk, at blood temperature, or UHT milk, unrefrigerated
  • 1 extra egg for eggwash
  • sesame seeds

Note: UHT milk has a long shelf life and is purchased in cartons from the supermarket shelf.

1. In the mixer bowl, whisk together (by hand) the flour, yeast, salt and sugar. In a separate bowl or jug, whisk together the milk, eggs and cooled melted butter, then pour into the dry ingredients.

2. With the mixing paddle, run the machine on low and mix until all the ingredients are incorporated. Scrape the paddle clean, cover the bowl and allow to rest for 15 – 20 minutes.

3. Switching to the dough hook on the machine, give the dough a brief knead – just a couple of minutes will do. Scrape the dough hook clean, cover the dough and allow to rest until doubled in size – an hour or so in our mild climate.

4. Turn the dough onto a lightly floured surface and using your dough scraper, give it a couple of gentle folds onto itself. Divide the dough into nine pieces, approximately 100 – 110g each. Shape each piece into a ball, then place on a lined tray. Preheat oven to 200C with fan.

5. Beat the extra egg with a tablespoon of water to form an egg wash. Gently flatten each ball of dough into a thick circle. Brush the top of each bun with egg wash, then cover and allow to prove for a further 20 – 30 minutes, or until puffed up.

6. Uncover the dough, brush with a second coat of egg wash and sprinkle with sesame seeds. Gently flatten the dough again to adhere the seeds and to ensure the finished bun isn’t too ball-like – it will rise quite a lot in the oven.

7. Bake for about 15 minutes – the buns will brown up very quickly so keep an eye on them. Allow to cool on a wire rack.

. . . . .

It was a great end result –  the meat patties (complete with melted cheese) were easily cooked on the sandwich press, the buns were given the thumbs up, and the homemade mayo and chipotle sauce added just the right amount of luxury. Best of all, Big Boy and Small Man prepared most of the meal and cleaned up afterwards, bless them.

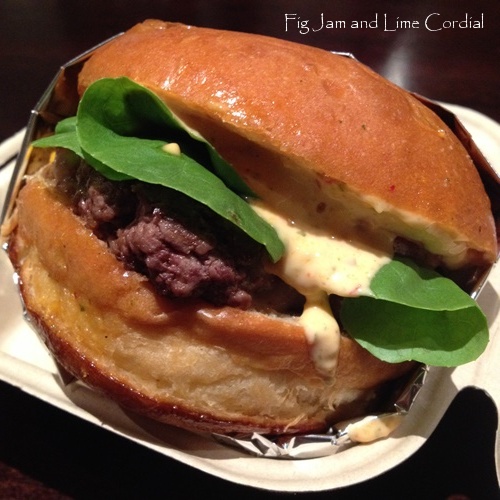
I didn’t want to put this recipe up without an actual burger photo in it, so I made the buns again today (I always like to test a recipe twice before posting, if possible). This time I tucked six in the freezer and made three burgers for dinner, using grassfed Angus patties from Havericks. Accessorized with avocado, tomato and chipotle corn salsa, they were a tasty meal!

Read Full Post »

Thai Green Chicken Curry

I’ve been happily spending my Amazon birthday money on Kindle e-books! It’s a wonderful way to indulge my love of cookbooks without the environmental costs associated with paper copies. It also lets me discover small treasures which never make it into a hard copy, like this little gem…

Costing just a few dollars and containing less than two dozen recipes, it was written by a Thai chef who runs cooking classes in her home town. The instructions are simple to follow and fairly basic, but having said that, Duen’s recipe produced the tastiest Thai Green Chicken Curry that I’ve ever made.

I went in to Thai Town (Campbell Street, Sydney) to pick up some pea eggplants – the recipe specifies the round Thai eggplants (about the size of a squash ball), but I prefer using the slightly bitter pea ones in my curries…

Instead of making my own curry paste, I used a Maesri one that I had in the pantry (the book provides instructions for making red and green curry pastes from scratch)…

The secret ingredient? A tiny bit of chicken stock cube. I rarely ever use them, but I always keep some MSG-free Maggi ones in the pantry. Here’s my take on Duen’s recipe – I greatly reduced the amount of fish sauce used as the one I have is very salty…

  • 700g free range chicken thigh fillets, washed and sliced
  • ½ tin Maesri green curry paste
  • 1 tablespoon coconut oil
  • 400ml coconut milk
  • handful basil leaves
  • handful of Thai pea eggplants (or larger eggplants, cut into pieces)
  • 2 large kaffir lime leaves
  • 1 long red chilli (for garnish)
  • 2 teaspoons fish sauce
  • 1 tablespoon palm sugar (or brown sugar)
  • ¼ – ½ chicken stock cube

1. Heat the coconut oil up in a pan (I used my Emile Henry clay wok) and fry the curry paste until fragrant (about 1 minute). Add 250ml of the coconut milk and the kaffir lime leaves.

2. Add the chicken and stir until half cooked, then add the fish sauce, palm sugar and stock cube. Stir until combined.

3. Add the remaining coconut milk and bring to a boil, then add the eggplants and simmer until cooked but not mushy. Check the chicken is cooked through and adjust the seasoning with more fish sauce or palm sugar if required.

4. Stir the torn basil through the hot curry and garnish with slivers of red chill. Serve with steamed rice.

This was every bit as delicious as it looks in the photo! It was amazing what a difference the addition of the palm sugar, fish sauce and a little bit of a stock cube made.

Definitely a recipe we’ll be making again, and there’s a couple more in Duen’s book that have caught my eye as well. Great value for $3!

Read Full Post »

Fondue Cheese Log

For my birthday, our old friends Kevin and Carol gave me an Amazon gift card. It was the perfect present, because they know how much I love having Amazon credit. I’m not much of a clothes or trinkets shopper, but let me loose on Kindle e-books and cookware, and I’m as happy as a pig in mud.

One of the first books I bought was the Saveur New Classics Cookbook. It was just $10 (as compared to $26 in print copy) and offers 1,000 recipes from the excellent magazine of the same name…

The first thing that caught my eye was Ella Fitzgerald’s Favourite Cheddar Cheese Log. I’ve changed the recipe up a bit, adding a little Kirsch for that 70’s fondue feel, and omitting the parsley (I figured it would last longer that way, and I wanted to serve it over the entire Festival).

  • 500g assorted cheeses
  • ½ teaspoon Tabasco sauce
  • 1 tsp dijon mustard
  • 3 chipotle chillies in adobo, chopped
  • Kirsch as needed
  • ½ cup chopped pecans

Note: like the Fromage Fort, this is a great way to use up leftover cheeses. I’ve made this recipe twice now – once with Margaret River cheddar, Greek kefolagraviera and Philadelphia cream cheese; the second time with Dorset cheddar and aged Parmigiano.

1. Using the grating blade on a large food processor, grate the hard cheeses. Switch to the chopping blade, then add in any soft cheeses, the Tabasco, mustard, and chillies. Blitz together, adding as much Kirsch as needed (or desired) to form a cheesy paste. It should be firm enough to shape.

2. Spread the chopped pecans over a large piece of cling film. Scrape the cheese over the top and shape into a rough log, then roll it in the nuts. Use the cling film to form the shape neatly. Wrap tightly then leave in the fridge to harden up for a few hours. The flavour will mellow and integrate over a couple of days.

Serve with homemade Melba Toast!

Read Full Post »

Last year, my friend Tania gave me a commercial mini loaf pan.

It’s a stunning piece of kit – made by Chicago Metallics, it bakes evenly and is heavy enough not to warp or twist. Each of its twelve holes will hold 180ml. If you ever see one for sale, it’s worth picking up, although you’ll need a wide oven to fit it in…

If you can’t get your hands on one of these, the Baker’s Secret petite loaf pan will work just as well for this recipe (although it only has eight holes instead of twelve, and it’s not nearly as sturdy).

These wee loaves have a golden buttered crust, which adds a lovely flavour to the finished bread. I discovered it completely by chance – I didn’t want to use spray oil on my nice new pan, so I brushed the holes with melted butter instead. Then, since I had leftover butter, I brushed the tops as well…

I use our standard overnight sourdough recipe for these, and one batch makes exactly twelve mini loaves. They’re seriously cute…

Some basic instructions:

1. Prepare a batch of overnight sourdough and allow to prove. Then turn the risen dough out onto a bench dusted with flour (I use fine semolina) and divide it into 12 x 160g pieces.

2. Melt a couple of tablespoons of unsalted butter. Brush each cavity in the pan with a little butter.

3. Shape each piece into a round ball, then shape each ball into a small loaf, following the photo instructions here. Tuck each loaf, seam side down, into one of the rectangular holes.

4. Brush the top of each loaf with melted butter (don’t get too carried away, it doesn’t need a lot), then cover with a tea towel and allow to prove until puffed up and risen. In the meantime, preheat the oven to 220C with fan.

5. Uncover the loaves and slash the top of each with a single long cut down the middle. Spritz the tops with a little water. Bake for 15 minutes at 220C with fan, then reduce the temperature to 175C with fan for a further 10 – 15 minutes, or until golden brown. Allow to cool on a wire rack before eating.

. . . . .

These loaves are delicious eating and also the ideal shape for Melba toast. I let the bread sit on the bench in a plastic bag for a day or two, then slice it thinly and dry the squares in a 100C (non-fan) oven for three hours…

Although a bit thicker than the commercial version, these are delicious nonetheless. They store well for weeks in an airtight container…

I used them to make retro canapés for the Festival of Fifty!

Read Full Post »

I love going on little food adventures!

A couple of weeks ago, my friend Dotti sent me a photo of a Mister Gee burger, with a note saying, “they’re not far from you!”

She was right too – parked in an old car wash on the border of Five Dock and Haberfield, this hipster food truck was only a short drive from home. I picked up my friend Carol on the way and we arrived at 6.20pm – 10 minutes before official opening time.

It was raining and cool, and the queue was already snaking out of the undercover shelter by the time we got there. And you know what? At fifty, Carol and I were, without question, the oldest people there…

It was dark by the time we got towards the front of the queue.

“How old are you?” I asked the two young Asian guys standing in front of us.

“Eighteen”, one of them replied.

“Seriously? Does your mother know you’re here? And do you think she’d be happy that you’re standing in the rain?”

They laughed so hard – I turn into everyone’s mad Chinese mother at any opportunity…

Inside the truck, music was blaring and a crowd of young workers were moving at speed – I counted eight people behind the counter.

On offer that night were “Geeism” burgers (beef patty, oakleaf, tomato, onion, kimchi mayo, bacon, havarti cheese), chilli cheese fries and baklava shakes. As you can see, I’d given up on getting stoically wet by that stage and had pulled out my purple pocket umbrella

The young guys in front of us ordered five burgers (two with double patties), four trays of fries and a baklava shake between them. They were planning to eat the whole lot on their own. It’s hard not to respect appetites like that! The person in front of them ordered a triple burger, which was so humungous that I had to take the photo below.

By this time we’d been waiting for an hour and ten minutes, and  friendly strangers had started sheltering under our umbrella…

So was it worth it? Absolutely! It was great fun, everyone was cheerful and patient, and I thought my burger was the best I’d ever tasted. The meat was flavoursome, incredibly tender and cooked to medium perfection, the brioche bun was soft and just the right size (I don’t like burgers with crusty buns) and the kimchi mayo was divine. The fries were a nice accompaniment, albeit not outstanding.

Pete and Big Boy enjoyed their burgers too, Small Man less so. He prefers something with a bit more chew – this one was all a bit too tender for him.

If you’re after a cheap foodie adventure and you’re willing to stand in a queue for an hour or so, the Mister Gee Burger Truck is delicious fun. Burgers are $10 each, fries $5 – cash only.

More details on their Facebook page. And check out Lorraine’s review on them as well!

Read Full Post »

« Newer Posts - Older Posts »