2019 Update:
This tutorial was written four years ago and the way I make sourdough has evolved since then. Please refer to the 2018 Sourdough Cooking Class: Step By Step Instructions for our latest instructions.
. . . . .
I write a lot of bread posts – mostly about my sourdough experiments with different flours and ingredients. As I’ve said before, tweaking recipes and trying new techniques makes the whole process enormously enjoyable.
But as all my baking buddies know, a lot of the time we simply bake prosaic, pragmatic (and all of those other words that mean everyday) bread. Bread for school lunches, bread that doesn’t require too much thought, bread that always works.
One of the tricky things about baking with a sourdough starter is figuring out how to fit the long proving times into our busy schedules. Mistime it by just a little bit, and we find ourselves peering into the oven at 2am, willing the loaves to brown. But once a routine is worked out, it’s incredibly soothing and simple to orchestrate.
As I’ve now mailed out oodles of dried Priscilla starter, I thought I’d show you how easy it is to make a very serviceable everyday overnight loaf with her. I’ve taken lots of photos – one-handed, on my iPhone, in poor light. What you see below is what I see when I make this bread (in one form or another) a couple of times a week.
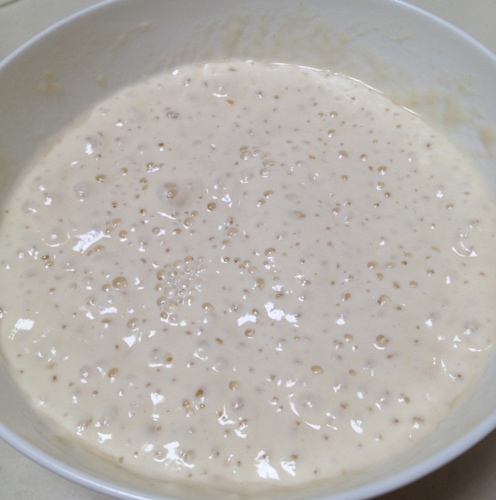
Always start with a bubbly bowl of starter. I take out ½ cup of starter from the fridge at lunch time, feed her ¼ cup each of bakers (bread) flour and filtered water at 1pm, followed by ½ cup of each at about 4pm. By 8pm, this is what she looks like…
This very basic loaf uses just four ingredients – starter, water, bakers (bread) flour and fine sea salt. Measure out 300g of starter in a very large mixing bowl…

Add between 570g – 600g of cold or room temperature water. I start with the lesser amount and then add a bit more later if needed, depending on how the dough feels (it varies from night to night)…
 Add one kilogram of bakers (bread) flour…
  …and 18g of fine sea salt. That’s it…
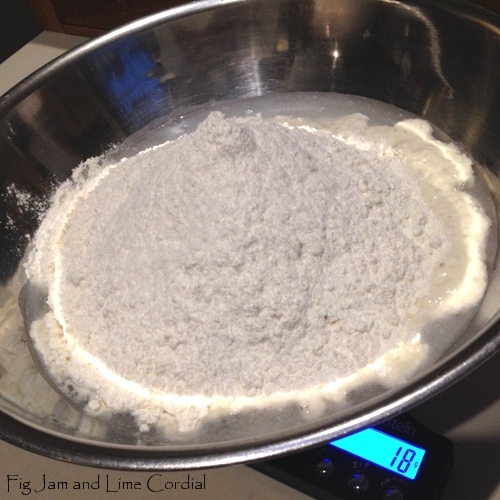
Get a clean hand into the bowl and squelch all the ingredients together…


Cover the bowl with a shower cap or cling film and let it sit on the bench for half an hour…

Uncover and give the dough a quick knead in the bowl. I spend about a minute doing this…

Now cover the bowl again, wish it a good night and leave it on the bench…

At 6am the following morning, this is what my dough looked like. I should mention here that Priscilla is incredibly resilient – she can prove for hours to the point of overblown and still bounce back for a second rise. Not all sourdoughs can do that, so you might need to adapt accordingly to suit your starter’s temperament…

Dust the bench well with flour and scrape the dough out (I like to use fine semolina as it gives the finished loaves a fabulous crust)…

Using a plastic spatula or dough scraper, fold the outside thirds into the middle…
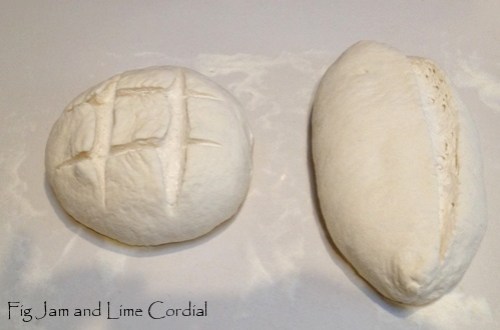
 Divide the dough into two…
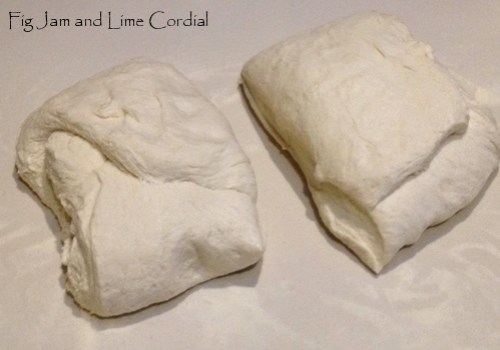
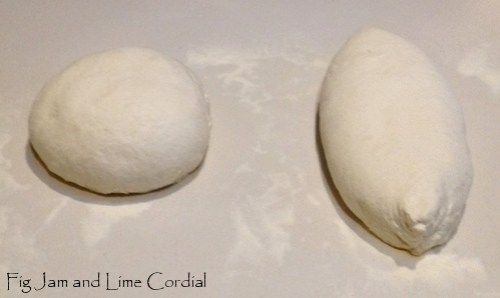
…and shape as desired. Instructions for shaping the dough can be found here (point 8). Try to pull the outside of the dough as tightly as possible – this will create a good gluten coat which will help the loaves to keep their shape. Cover with a tea towel and allow to prove a second time…
Place covered pots into the oven and preheat to maximum. The pots aren’t essential – you could just as easily bake on a pizza stone or oven tray, but the pots produce beautifully shaped loaves.
Addendum (2 Feb 2015): the Falcon enamel roasters I use are heat safe to 270C. If you’re using a cast iron enamel pot, check that it can cope with the high temps – often the handles are plastic and will melt at anything over 190C.

Once the shaped dough has puffed up a bit (about half an hour), slash with a serrated knife. I’ve learnt from experience that wielding a razor at 6am in the morning is unwise, so now I use a small bread knife. Make bold cuts – slash with panache!
I couldn’t get any photos of the next bit (and no-one was awake to help me). Carefully take the hot pot out of the oven, remove the lid, place in the slashed dough, then cover and return to the oven. Reduce the heat to 220C with fan and bake for 20 minutes with the lid on.
After 20 minutes, remove the lid and bake for a further 20 minutes with the lid off. This is how the dough looks when the lid is removed – well risen but pale…

After the second 20 minutes (ie. at the 40 minute mark), the loaves are basically done. I like to take them out of the pots and bake them on the racks for a further 10 minutes at 175C with fan, as I find this helps to them to stay crusty…

Addendum (2 Feb 2015): Since writing this tutorial, I’ve changed my baking technique slightly. I still preheat the oven, but I no longer put the pots in to heat up. Instead, I line the base of the unheated roaster with parchment, then place the shaped and slashed dough into it, cover with the lid and place the pot into the hot oven. As the enamel roaster is quite thin, it heats up very quickly. These loaves have a very slightly thicker crust, but this is a much easier method of getting the dough into the oven!
I have friends who use this cold pot technique with a cast iron pot – if you do that, you might want to give the covered stage of the bake an extra five minutes and reduce the time a bit at the end.
. . . . .
Allow the finished loaves to cool on a wire rack. The fine semolina that I used to dust the bench adds a lovely crunchy finish…


Most people don’t have a massive 90cm freestanding oven, so if you’d prefer to bake just a single loaf, simply halve the recipe. Or bake in shifts – shape the first loaf and let it rise, then while it’s baking, shape the second one. This dough would also work well as rolls.
Basic, simple, everyday bread. Just four ingredients, kneaded for about a minute, shaped for maybe three – it doesn’t get much easier than that!

Read Full Post »