When I was twenty-one, I worked part-time in a little cross stitch shop called Topiary Lane during uni holidays. While I was there, lovely Rhonda taught me to make these pincushions.
I’d completely forgotten about them until I came home with my pile of Japanese cottons recently. Some of the pieces were too small for furoshiki and as I’m not a quilter, I was keen to find something else to do with them other than juggling balls. These little pincushions are quite easy and quick to assemble, they make a fabulous gift, and if times get tough, you can sell them for $10 each like Rhonda used to!
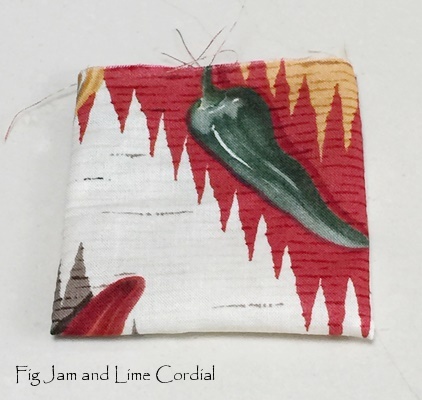
Start by tracing and cutting two circles of fabric. I used a small side plate as a guide which resulted in a large pincushion, but I was keen to keep as much of the pattern as possible. A small tea cup saucer produces a more standard size…

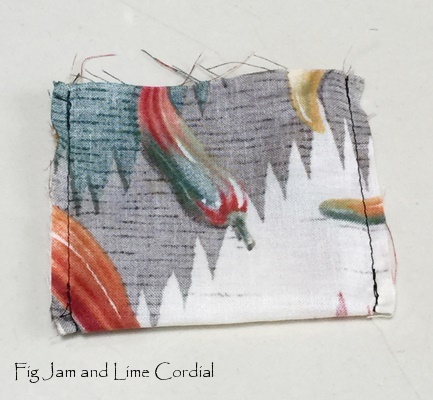
With right sides together, join the two pieces together, leaving a gap.
Edit: Margo suggested clipping the seam carefully at regular intervals to prevent puckering. It works! There are some great instruction son how to do this here.

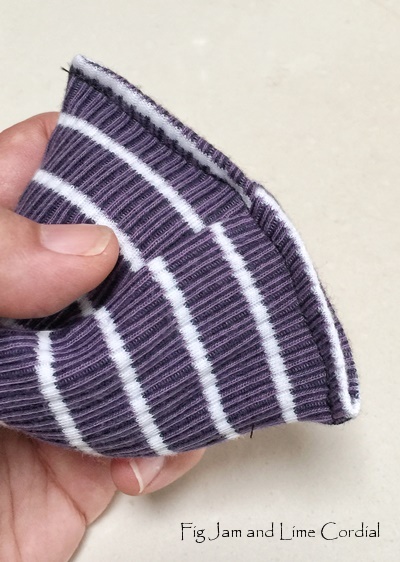
Turn right side out, stuff firmly (but not to rock hard), then turn in the open edges and whipstitch closed…

Thread a large needle with embroidery cotton in a matching colour…

Start in the centre of the base with a few backstitches to lock the thread in place…

Push the needle through the middle of the pincushion to the front and through a small button…


Repeat at the base – it’s a bit tricky to line up the buttons, so watch your fingers. The aim is to pull the centre of the pincushion in slightly. Sew through both buttons a couple of times to secure, then tie off the thread by wrapping it a few times around the bottom button…

Cut a long piece of embroidery thread (from memory, Rhonda used thin ribbon but I didn’t have any on hand) and tie it around the bottom button. Wrap a couple of times to secure, then bring the thread to the front and wrap it around the top button. Pull gently to form “petals”…

Continue wrapping the thread from front to back, going around the middle button each time, until you’ve divided the pincushion into six sections…

I went around twice, resulting in a double thickness of embroidery cotton at each divider. Finish by tying the thread off around the bottom button, wrapping the loose thread a few times more, then trimming carefully…

These are great fun to make and a good way to use up the big bag of polyfill leftover from my sock toys. The only tricky part is getting the needle through the middle buttons, but once you’ve managed that, the winding bit is easy. I’m going to make smaller ones next for Christmas presents! ♥
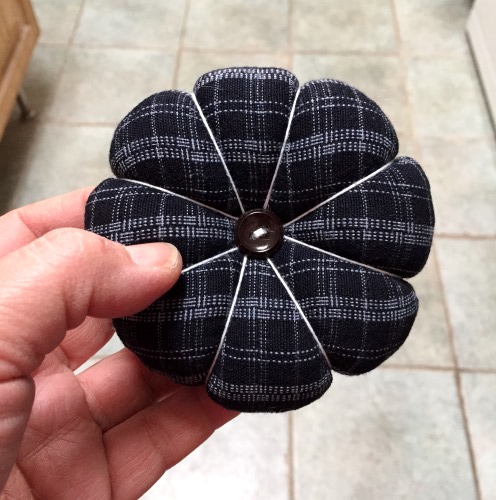
PS. Here’s the one I made this morning, using a smaller template and following Margo’s suggestion in the comments below to clip the seams every 2cm or so. It worked a treat! I’ve used a scrap of Japanese woven indigo and sashiko cotton this time, and made eight sections instead of six. ‘Tis a cute wee thing!


 . . . . .